


EluneVision User Review #1
Review Source: AV Science Forum – user “rsegato”
Here is an install and performance review of the Elunevision Reference Studio 100 Fixed Frame screen. I hope some find this helpful.
I purchased this screen from Dave/Milosh over at “Eastporters” out of Hamilton Ontario . As many have concluded, they were very helpful in picking the right screen for my setup. I recommend their products highly.
Given I ended up upgrading my receiver (now Yamaha RX-A3000 from V2095) and projector (now Panasonic PT-AE4000 form AE700) I naturally had to get a high quality screen to match this setup. Note I had lived with my Parkland plastic screen since 2002…it was indeed time for change! And what a change it was!
Screen Material … Reference Studio 100
I was originally thinking of the Perlux Silver 1.4 material from Elunevision but went with the new Reference 100 standard instead. I discussed this with Dave and given my room was fully light controlled and had black ceilings and walls, I was sure I should get the ~1.1 gain Reference 100 screen. I wanted perfect HD and Blu-ray images and wanted a cinema wide screen so needed a standard gain and high quality material. This looked like it fit the bill and the landed price was right.
Shipping …
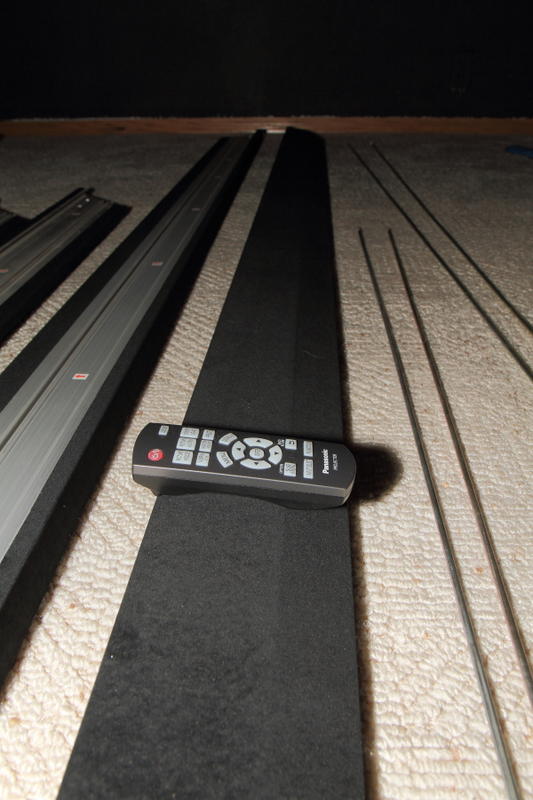
The screen I wanted was not a regular stock item yet so I had to wait a few weeks to get fabricated and shipped to me. No problem as I had to learn and play with my new amp and projector anyway first. DHL delivered it after a few inevitable shipping issues with delivery (grr). After the new years break and a few weeks , it arrived in a HUGE box (~ 12’x1’x1’). Packaging was double boxed cardboard that took a beating but all inside was intact. It weighed about ~70 pounds so not bad to handle. Note is was able to fit in my Honda Odyssey van from back corner to just hanging out the passenger window.
Screen Size… Reference Studio Fixed Frame Cinemascope Format (2.35:1) 135” viewable diagonal
I always planned to get a cinemascope sized CIH screen to maximize my movie viewing experience by zooming my AE4000. I always hated having to view what I deemed to be smaller images on my old 106” diagonal 16:9 parkland DIY screen. It was fine for 16:9 material but widescreen movies needed more. Now was the time! This makes my 2.40 movies now 180% bigger area than before and just tweaked by standard 16:9 image bigger by 5%.
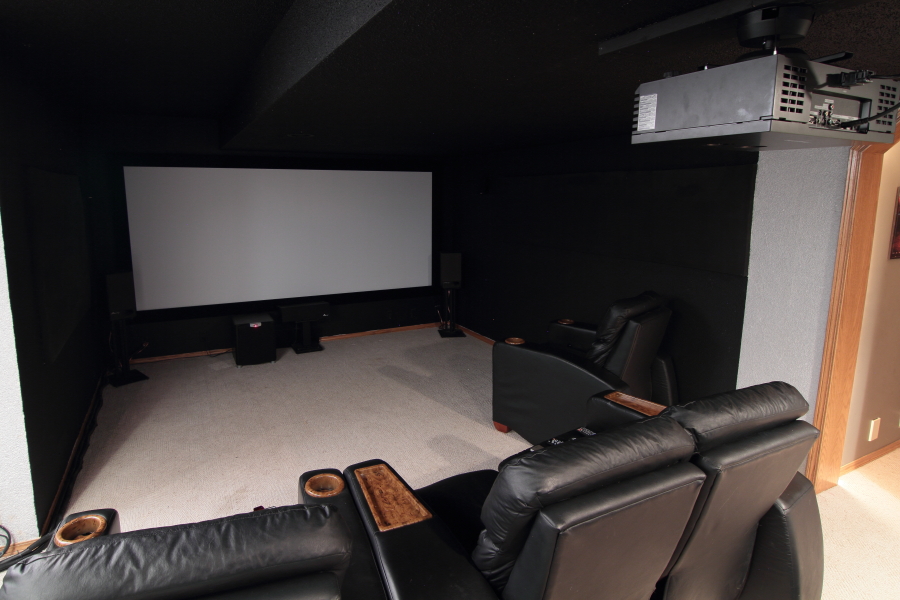
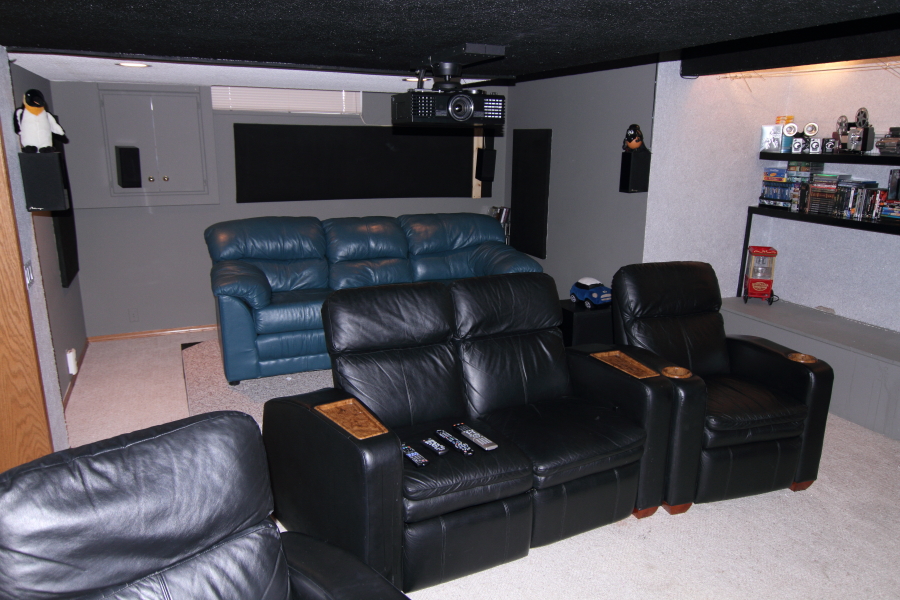
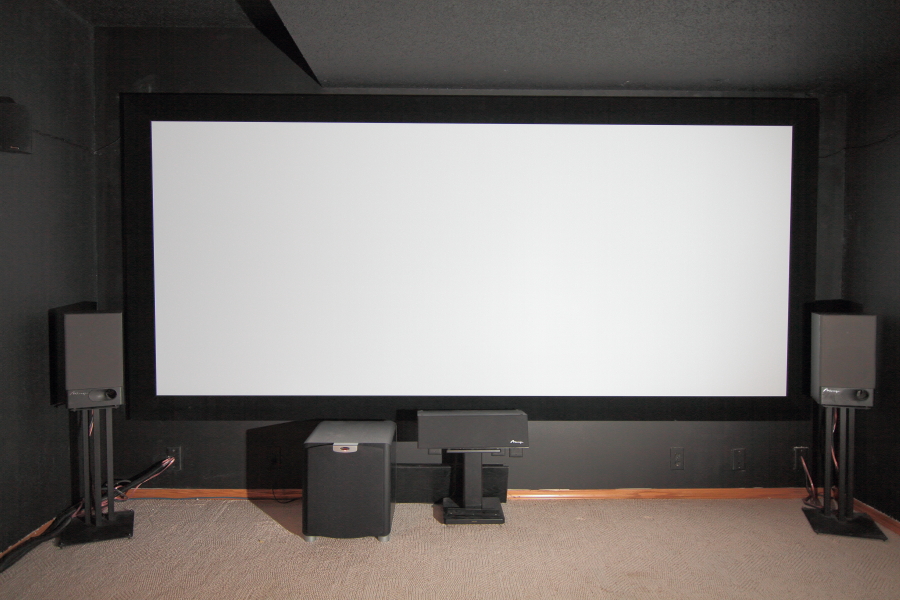
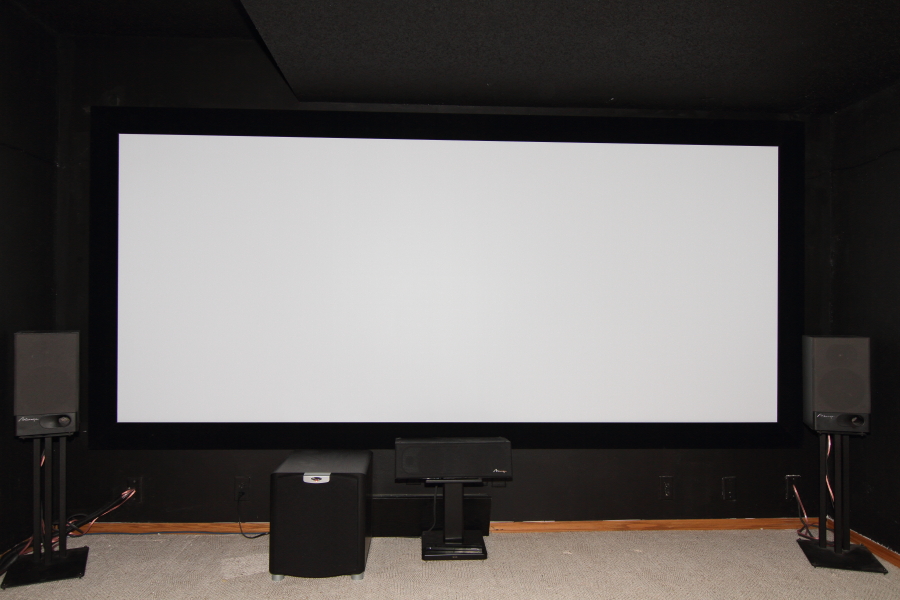
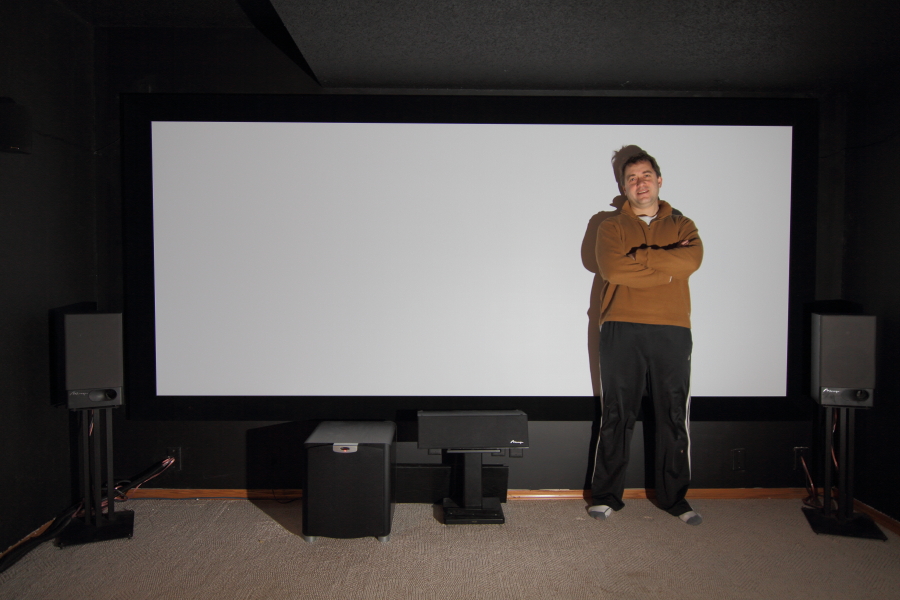
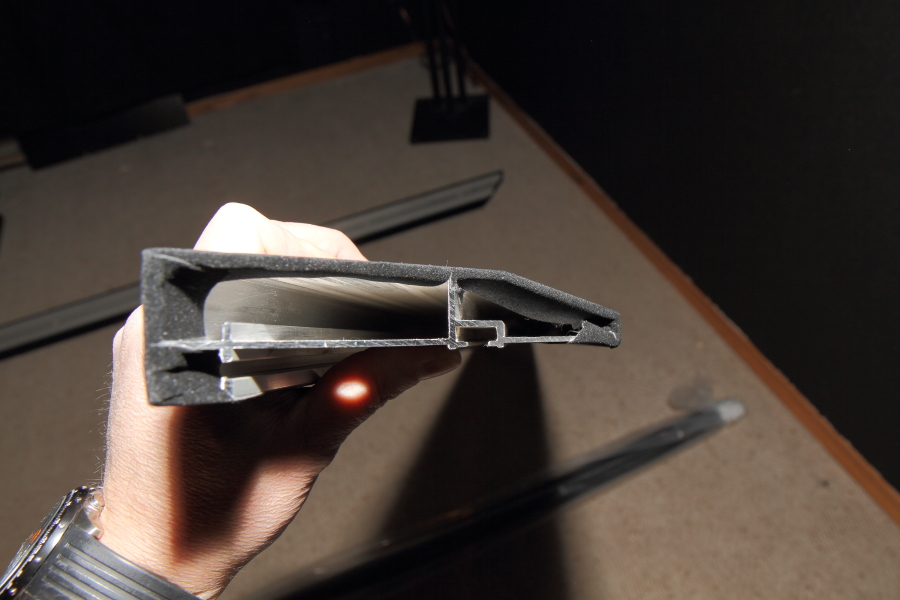
I have a limited height man-cave so had to squeeze in the most I could. I went wall-to-wall with just enough room for the image to clear my speakers. I ended up special ordering a fixed frame 2.35:1 screen measure 135” diagonal (124”x53” viewable area). This comes with a lovely 5in black velvet frame. Nice!
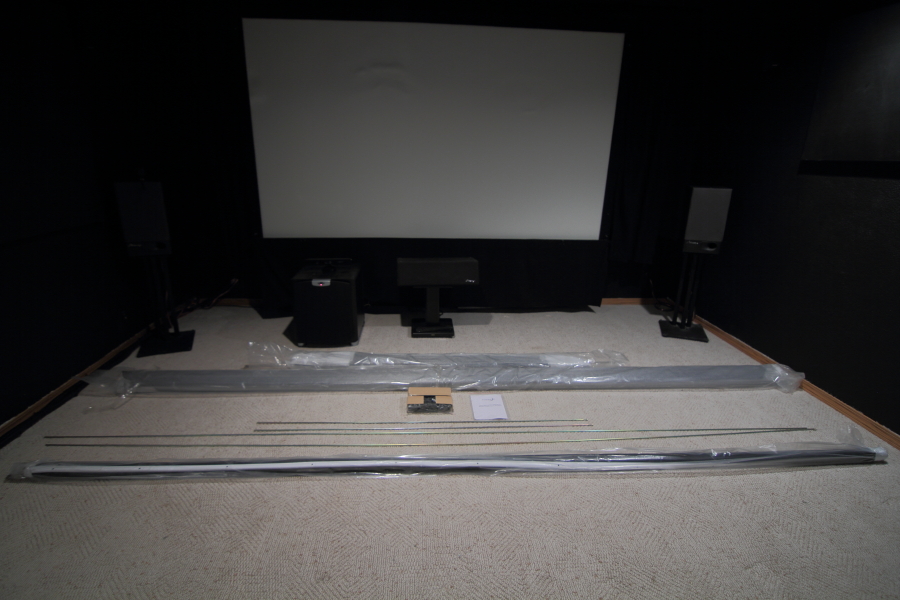
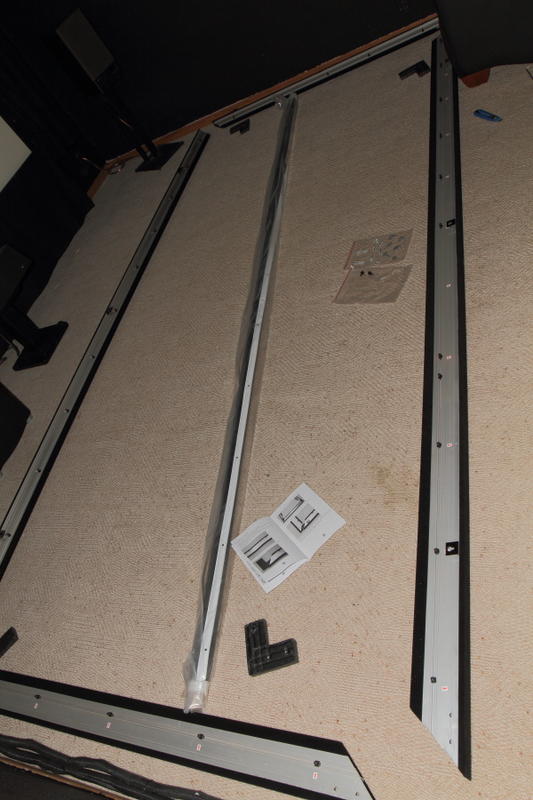
Assembly and Mounting … no problem
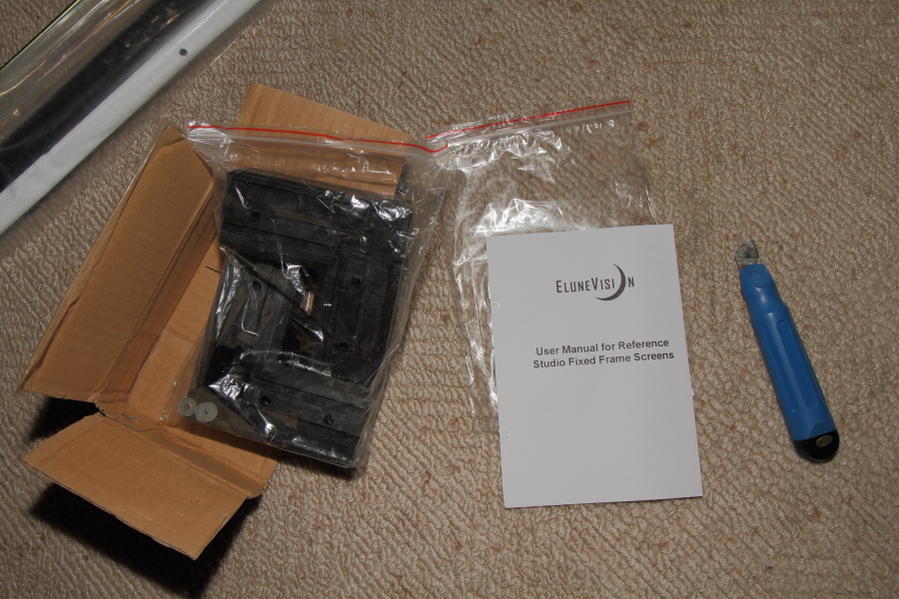
The manual was great and in fact this was a piece of cake to assemble.
The process took a casual 2 hours with lots of stop time for pictures.
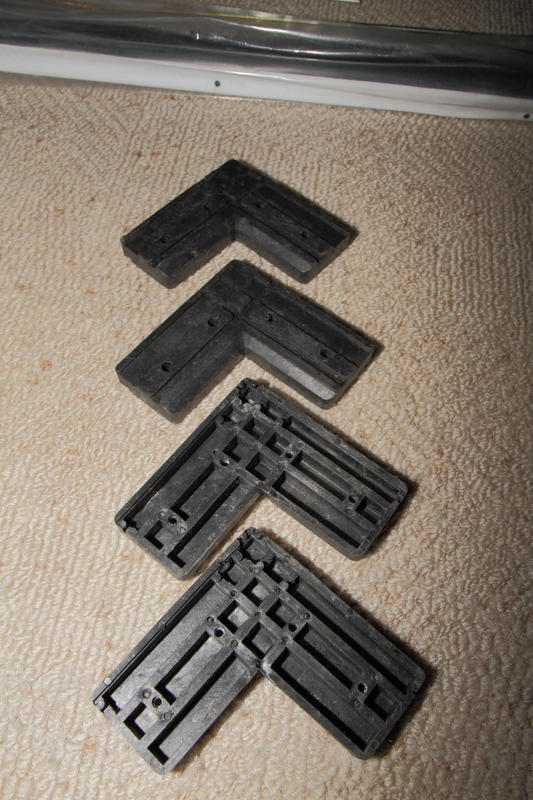
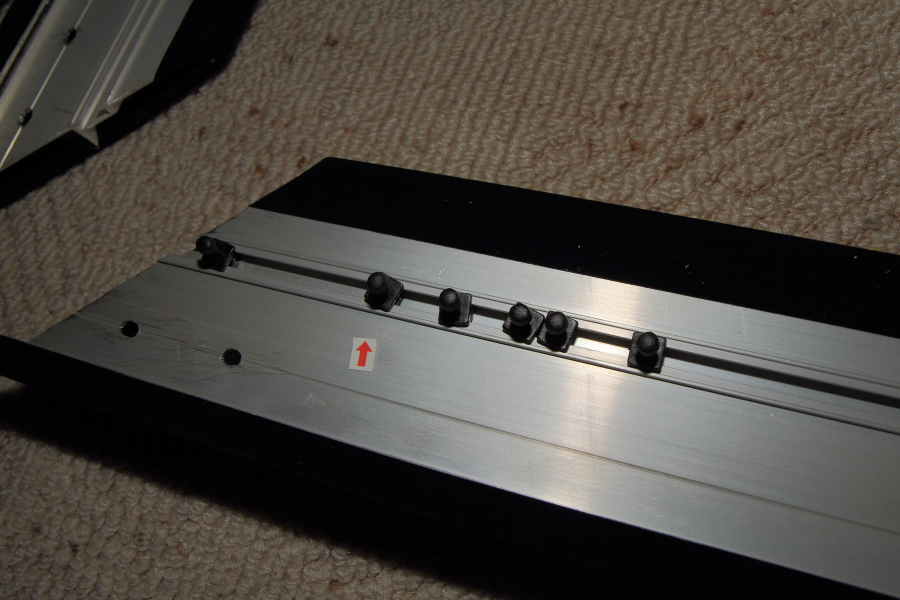
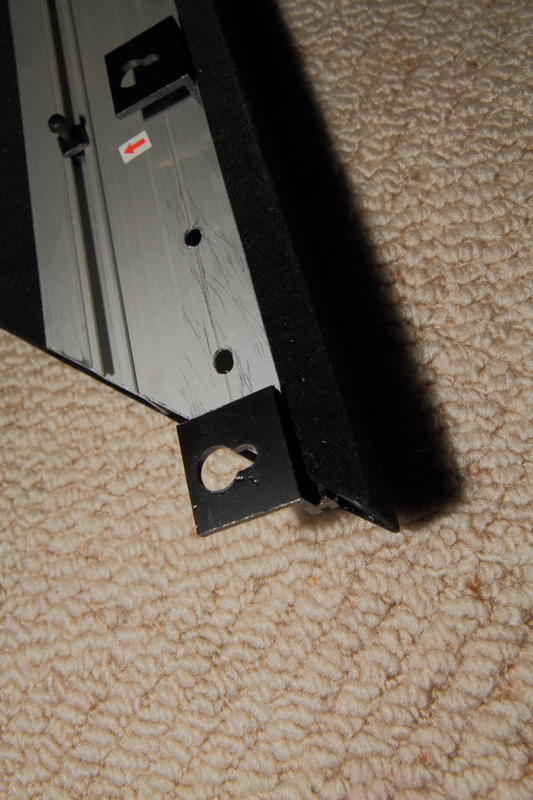
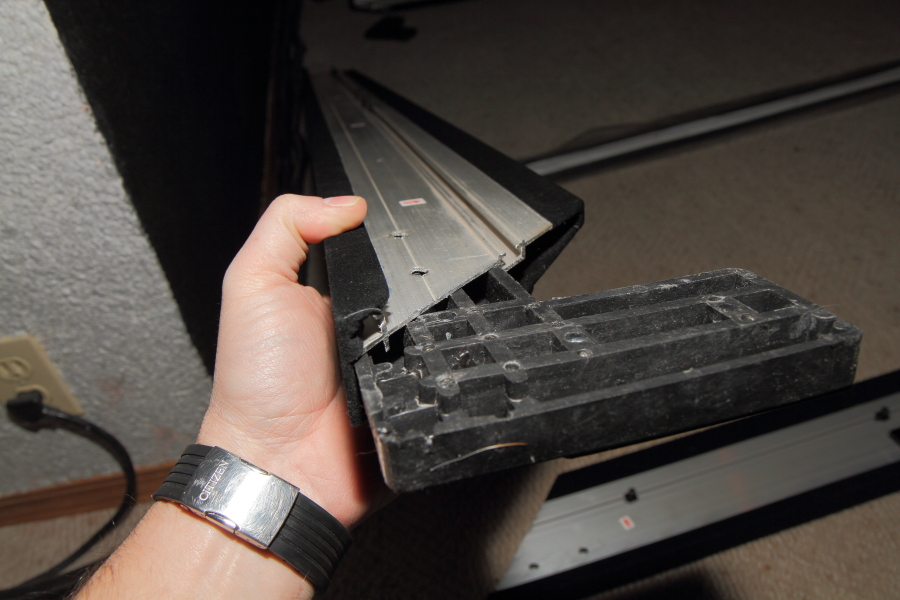
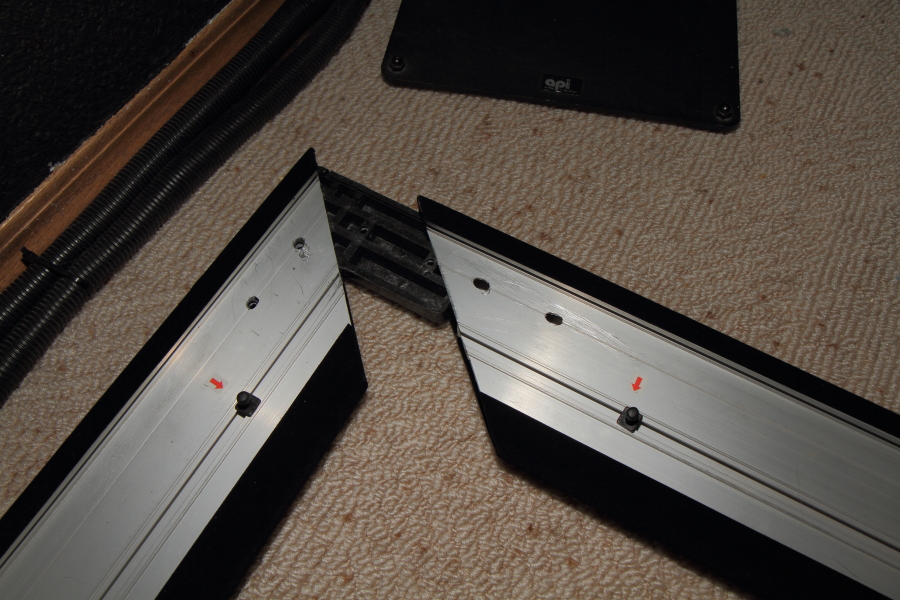
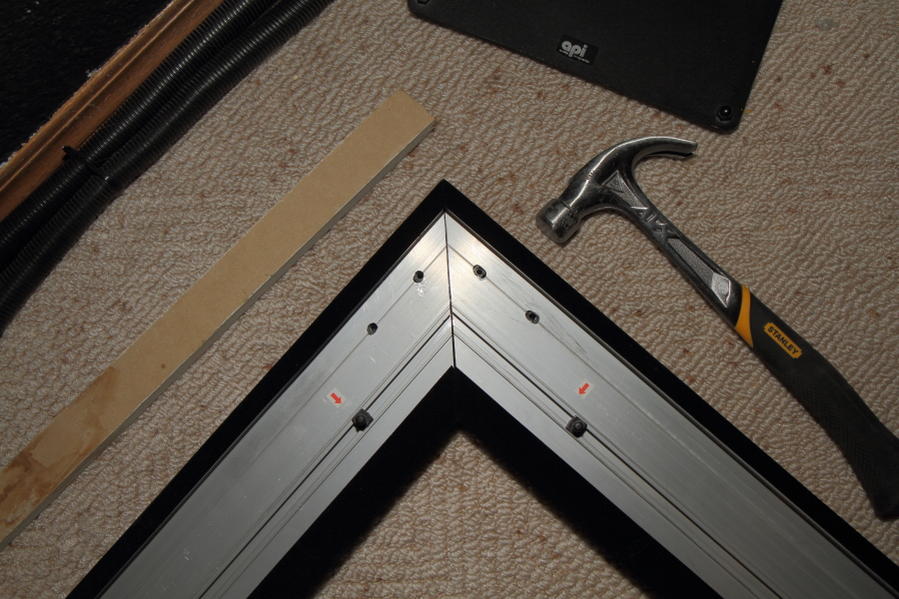
It says this is a two person job but if you are careful managing the screen, one person can do this. I read about some people having problems with the corner L brackets but I had no issue. I took my time and first made sure the plastic L brackets were started in the frame channels by hand in the snug gap of the frame profile. You need to make sure it starts smooth and that the frame covering material is not binding as it initially slides in. Once in by an inch or two, I used a hammer and hit a piece of wood against the bracket (to protect the piece/frame) … slowly hammer the bracket in. Go slow and make sure it goes in straight and you should have no issue. Once all corners were in I went around and did final taps to make sure there was no end gaps (the frame fit the angles perfectly).
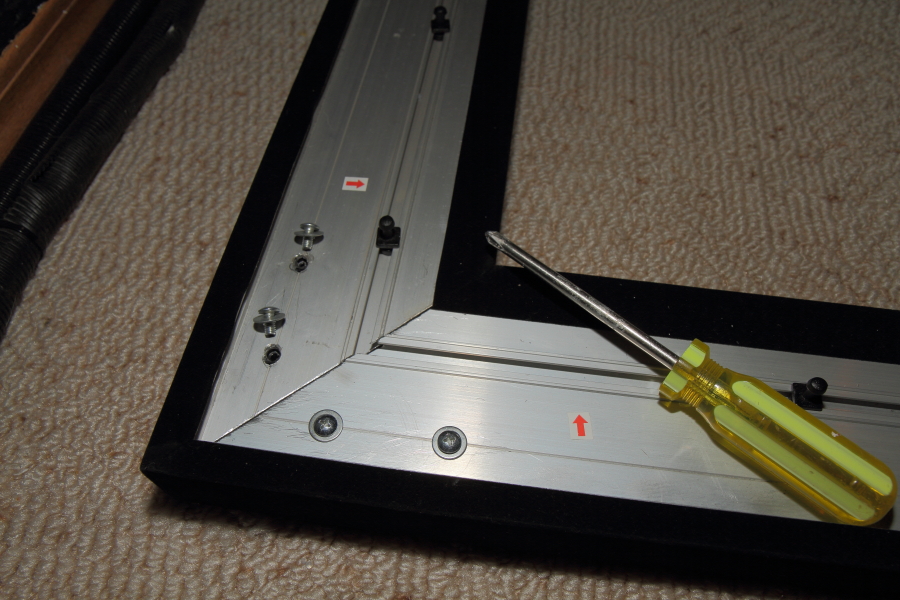
When set, there are 4 holes visible that are used for some holding screws just to keep things from backing out. Again go slow and make sure the screws are vertically square as they go it. You can tighten them by hand with a large quality screwdriver to get some torque and not strip anything.
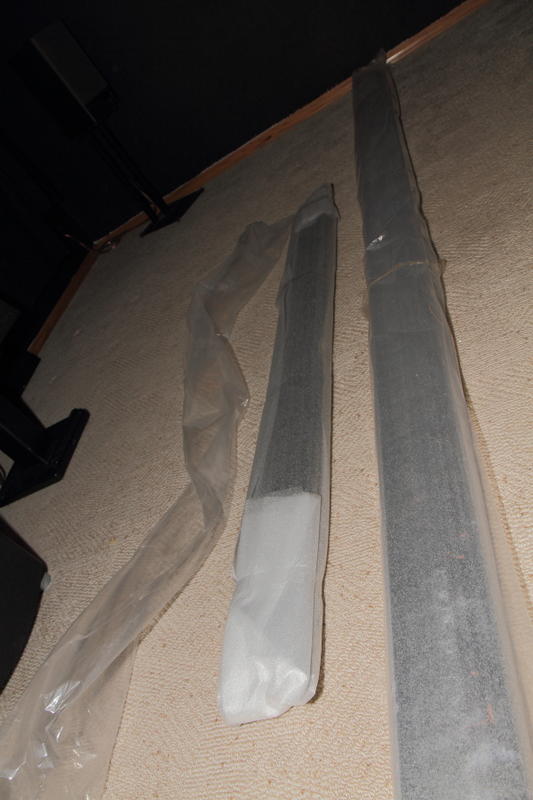
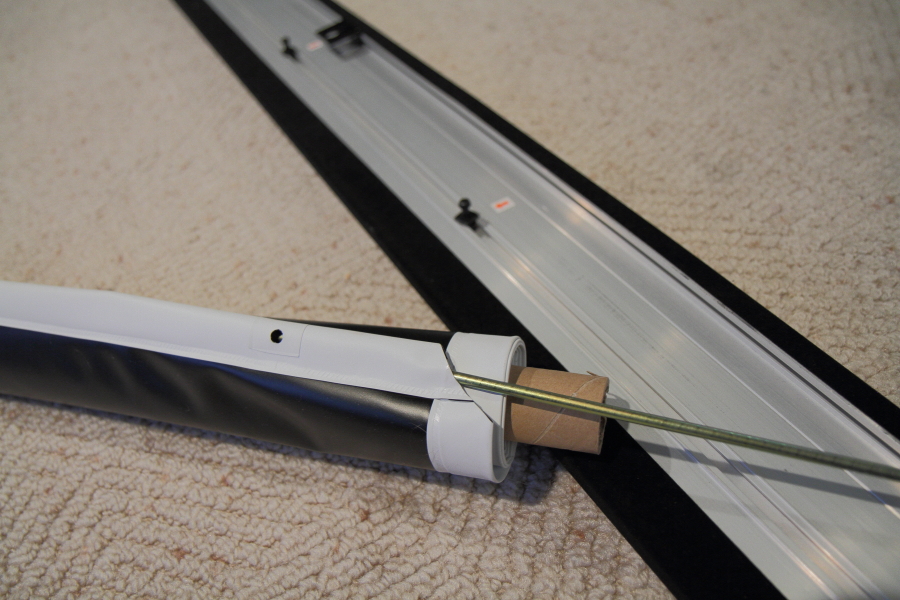
The screen was next and needed to be unrolled carefully. I had some cramp space and this was where a helping hand would have been easier. I managed to get all the metal rods into each side and then layed it out on the frame. The 32 (!) mounting connectors I slid inside the frame slot in the prior step slide around no problem. (there were 2 extras included along with 2 extra screws) . Tensioning order wise, I did on short side fully, then that near half of a long side, then did half the other near long side to my started short end, then did the full other short side. Finally I went back and forth and finished the long ends. Try to end the last few in the middle of a long side where things stretch easier. When gripping the screen material, grab it so you are pulling the rod inside not the material alone. This screen material is as tight now after a week as it was day 1…. Perfect. The screen is very flat with not much surface texture at all. The material feels almost rubbery like but with no shine at all. I tested the back and a strong flash light held very close did not pass light through.
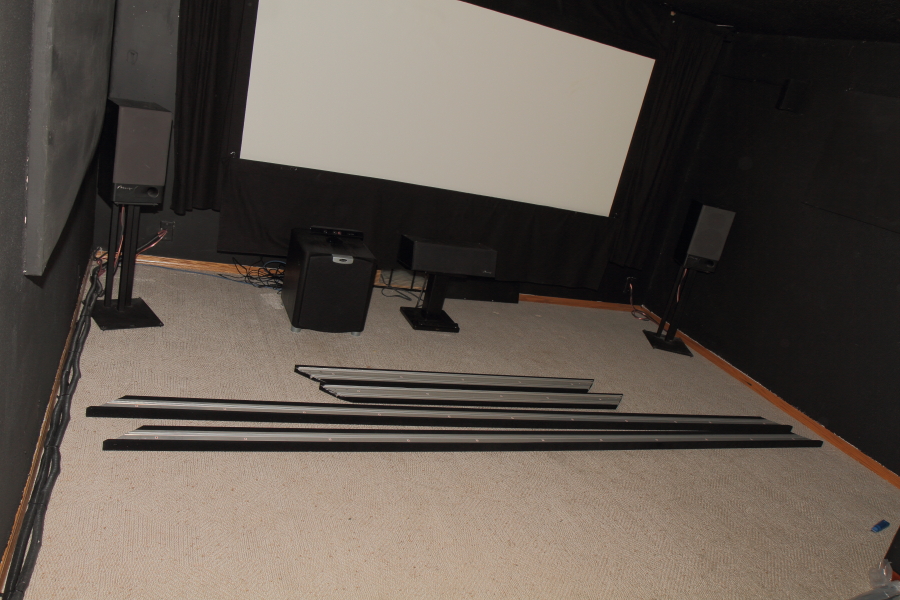
Once assembled its easy to lift and move about…but it is long so be careful not to damage the frame material! I eventually hung this on the wall with the three top brackets only, even though I put all 6 on . They slide around to line up with wall studs and I just used a laser level to ensure I had three proper size screws in the studs at the right height. It was simple a matter of 2 people lift and drop the screen into the slots of the hanging bracket. The bottom is free floating for me and essentially vertically straight to not bother with the pain of aligning all 6 brackets (I wish they would change the hanging brackets so the bottom ones are “reverse drilled” so the whole frame slides down on all 6 at once.) .
Brightness and Imagery…
(see pictures below)
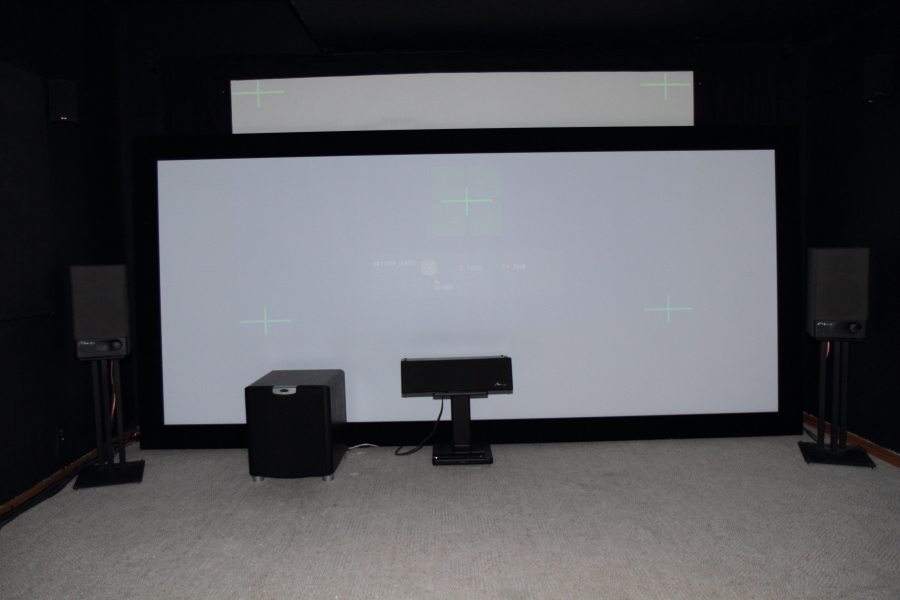
One of this screen features I was drawn to was this screens ability to keep gain constant regardless of viewing angle. I sit ~15’ from this screen and so I wanted perfect color and no hot spotting in my wider screen. My viewing angle is <30deg so I could have gotten away with a modest higher gain screen but given my projector was mounted at minimum needed distance/minimum zoom (~14.5’) from the screen, I had plenty of light to use it’s zooming feature for ~11’ diag image, so image brightness should be no issue. In the end, it was the right call. My projector is excellent at this size brightness wise…and this is in eco-mode on color1.
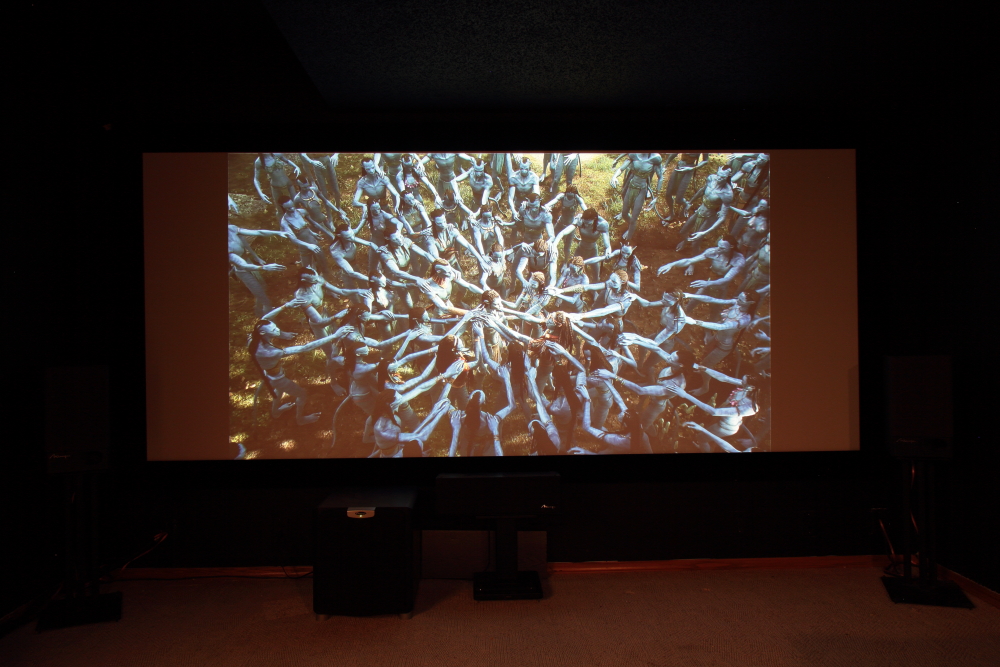
All of my test and demos have truly impressed me. I am just wowed at this screens size and how well it matches the Panny AE4000. My all black end of my room is completely filled with is this new screen image. I have no color reflections to cause color drifts but I may still may seek a dark gray like rug for in front of the screen…my brownish carpet is still viewable on the ground. Note that when you go this big, the screen itself puts out a lot of light depending on the scene. To me, watching movies is now “brighter” even though I painted my grey sides black over these last weeks.
It’s no contests how much better this screen is over the old Parkland plastic screen. That old DIY screen did me well though but it had a bad air bubble that developed, and it did show hot spots and no-uniform colour. I see that even more now. It also now looks like it had a yellow hue to the image. The color and tones of the new screen are perfect to me!
Detail wise, this screen is advertised as having a better surface for 1080P (smaller) pixels. I found this to be true and have attached some images to try and show this. The flat surface of this screen shows the projectors pixel structure very clearly and I would thus agree it is giving a better screen definition of edging and detail. This is a great match now for the Panny along with my Yamaha RX-A3000 Video processor tweaks. Blue-ray detail look incredible let alone HDTV.
Conclusion …
I am damn happy. This was a perfect addition to my home theatre. I would recommend those of you with similar AE4000 hardware, or the like, to consider this Reference 100 screen material. I know you won’t be disappointed. I was worried about gain and almost went for higher gain … so glad I didn’t . For dedicated home theatres with light control, shut the lights off and gets this screen. Go as big and wide as you dare to! Thanks for reading.
Images …
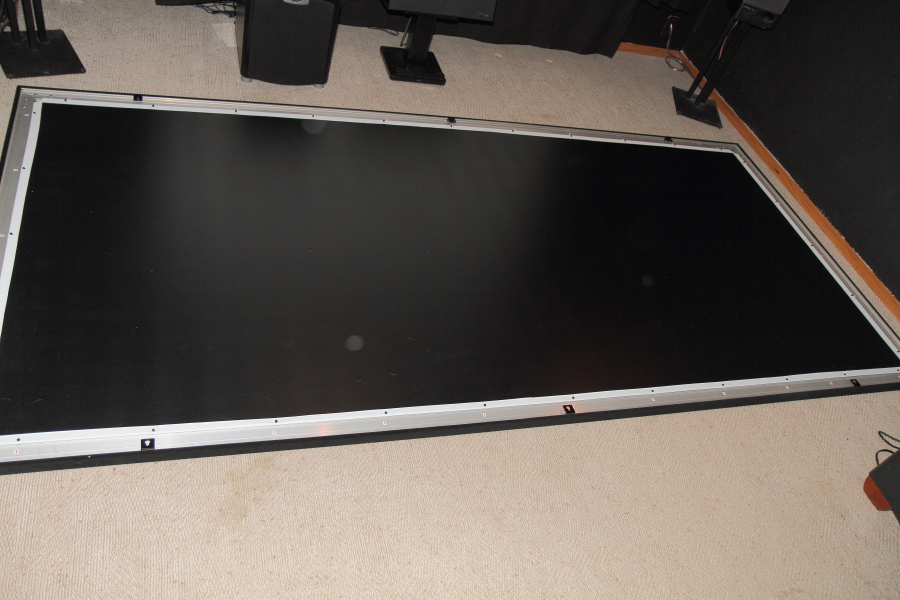
Installation Photos

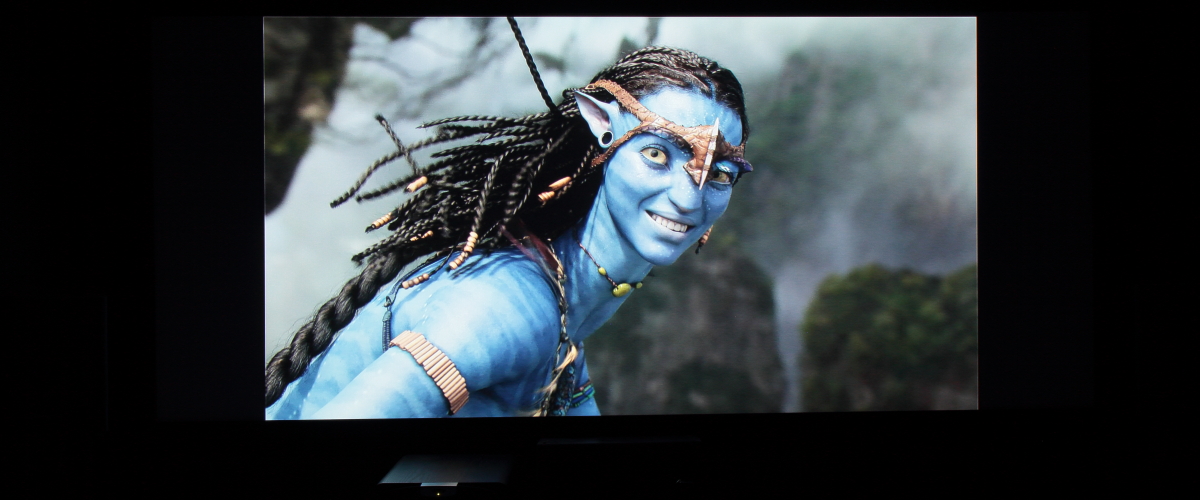
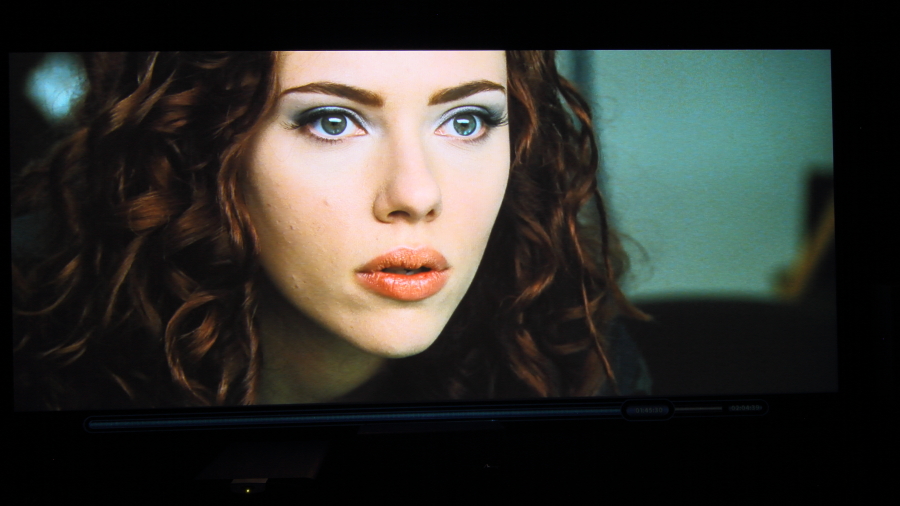
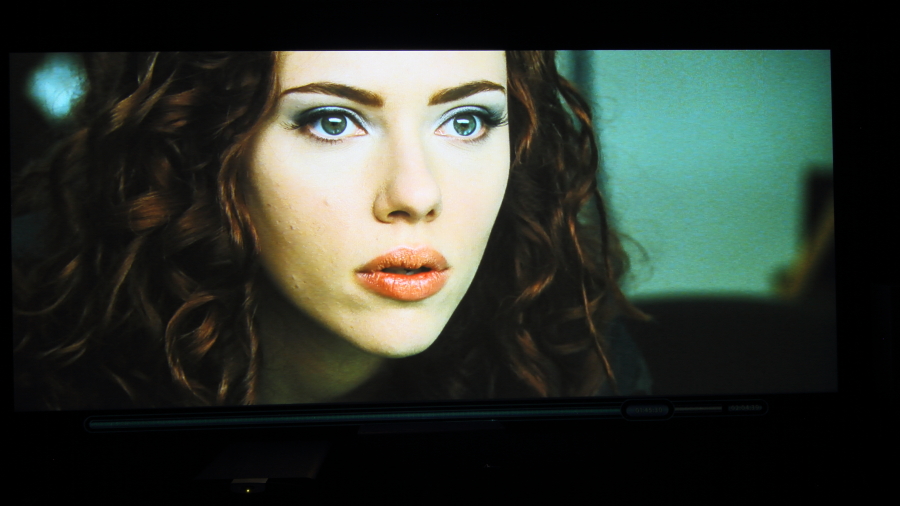
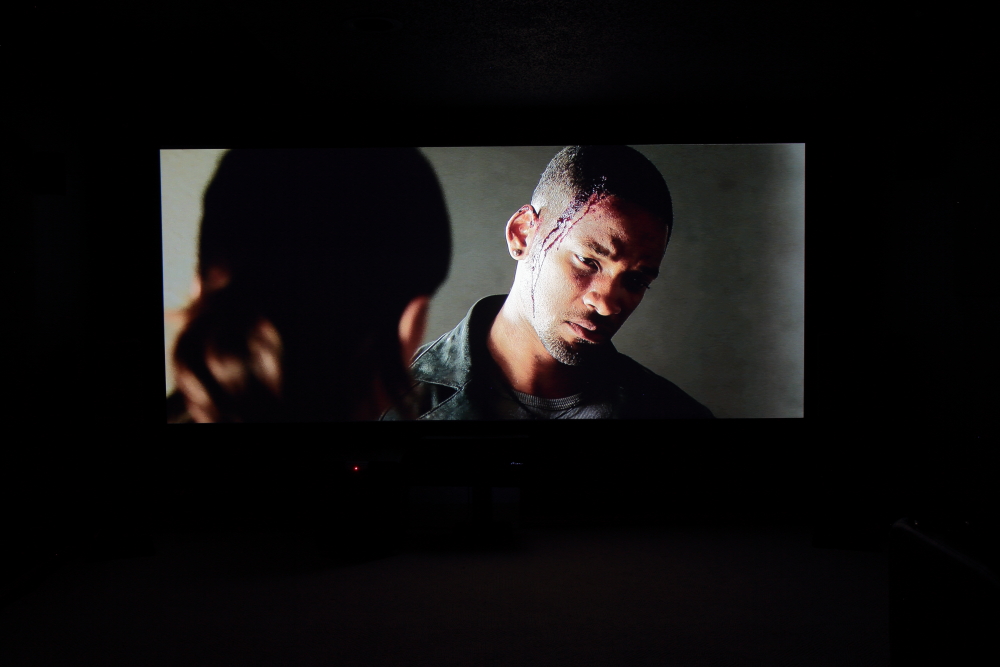
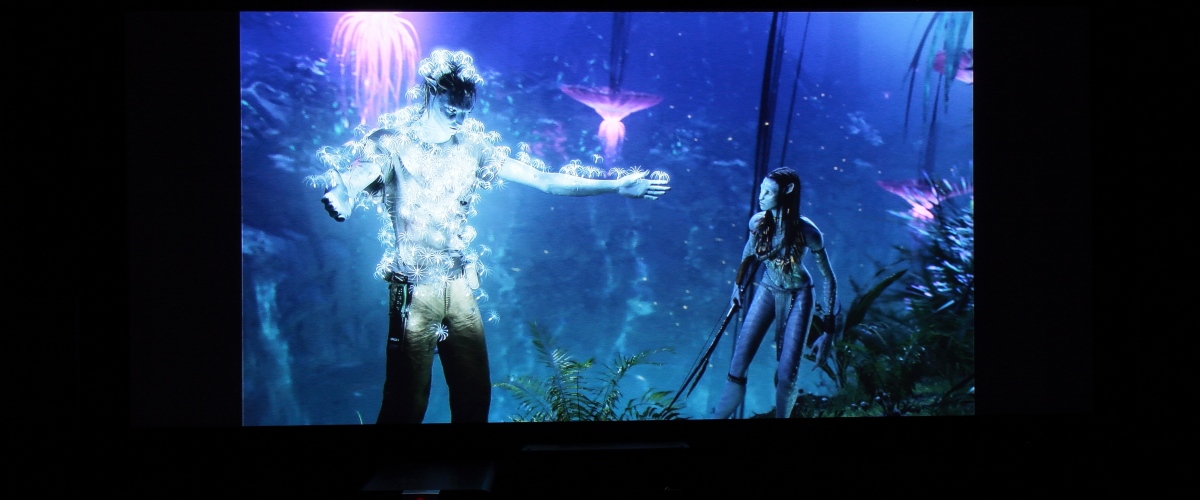
Screen capture images are tough but I tried to show here how the Panasonic AE4000 pixels are much more clear on the new Reference screen material over the Parkland screen..and yes it is indeed an unfair fight for the old DIY screen.
I think this EluneVision Reference screen is awesome for detail
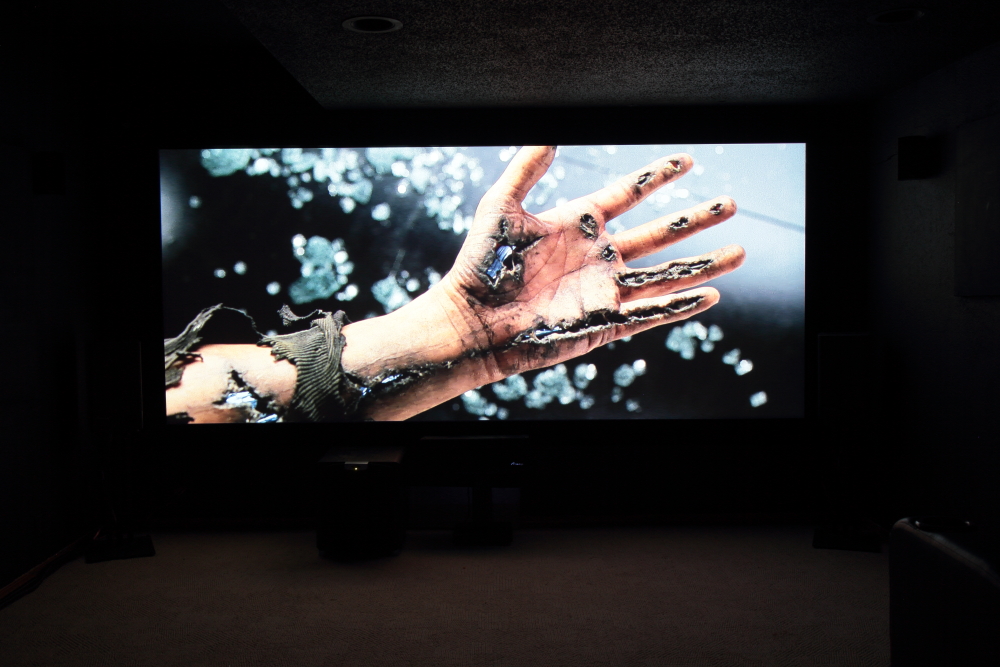
(the EluneVision Reference screen is on the left)


..like I said, I’m happy .The colours and detail is just sooo much better. These images barely capture how much better the new screen is. This screen definitely works wonders to ensure proper imagery and colour. It is well worth it.
I tried to reproduce images equally in my software (DPP).
first of set is new reference 100 screen (Referenc, diyparkland, Reference ,diyparkland)
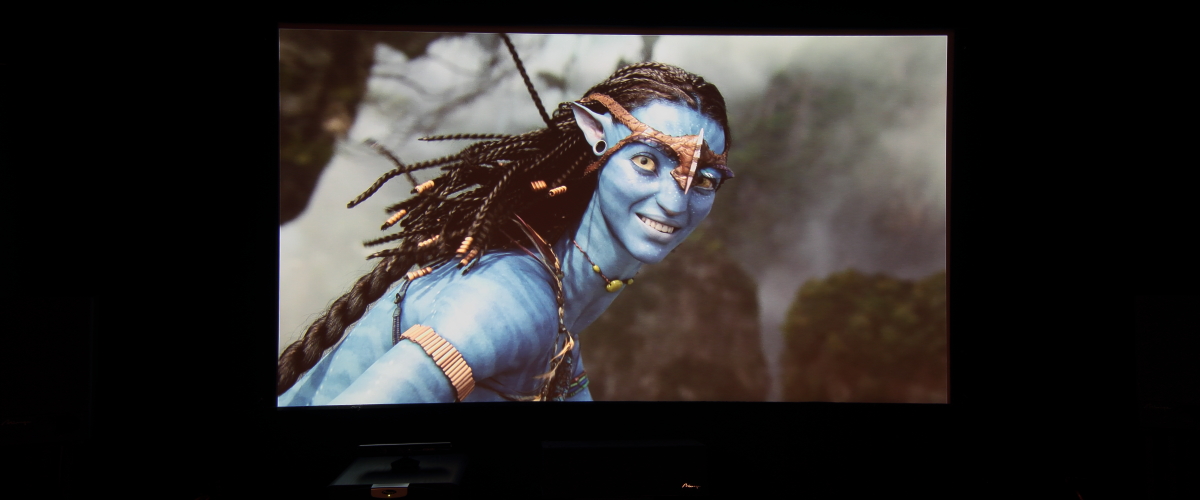
second smaller one is Parkland Plastic. I used to think it was great, as did my friends, but in fact it’s colours need tuning vs the out of box AE4000 settings which appear more refenece like on the Refernce screen..go figure…")
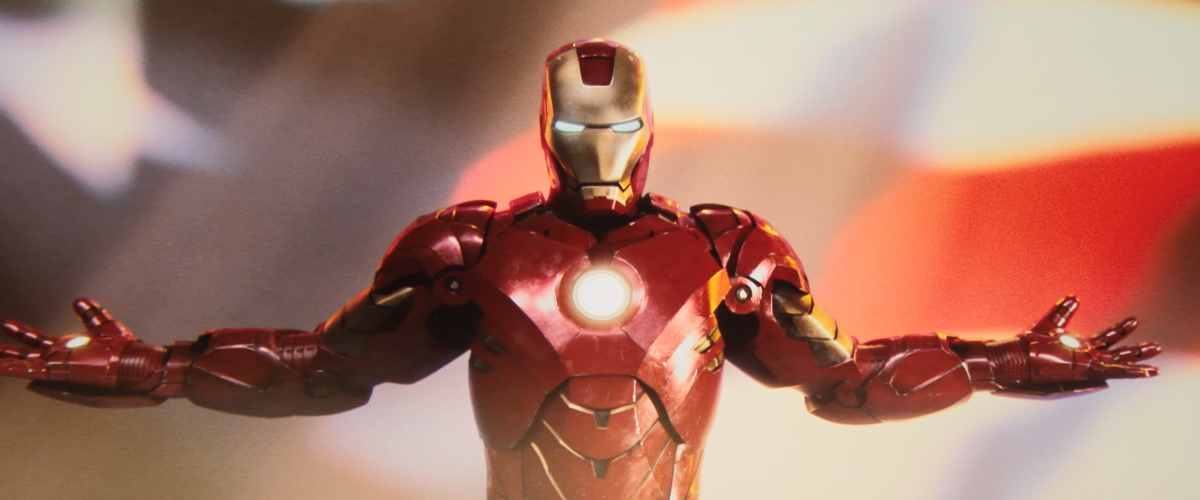
(AE4000 tuning only for contrast and brightness..these are on color1)

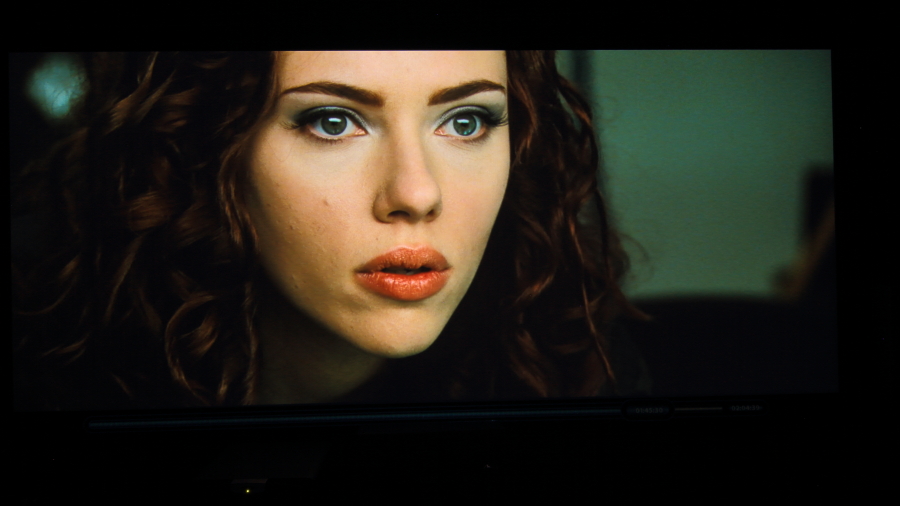
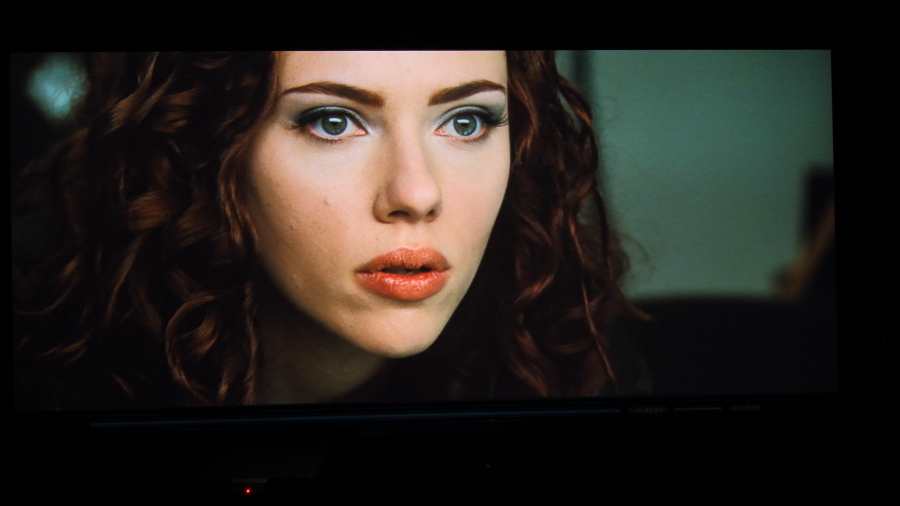
Note I tuned all images the same in DPP (my raw image editor)…I played with the AE4000 color settings and below is the same image at various color settings. On this screen, the color1 reference truly looks great. I may slide over to Cinema 1 for a while though as it too looks great. These have only been tuned for brightness and contrast from base projector settings.
color1, color2, cinema1, cinema2, cinema3
normal, dynamicNormal/dynamic appear too bright for blu-ray..I will save those for superbowl …maybe..if I turn lights on …
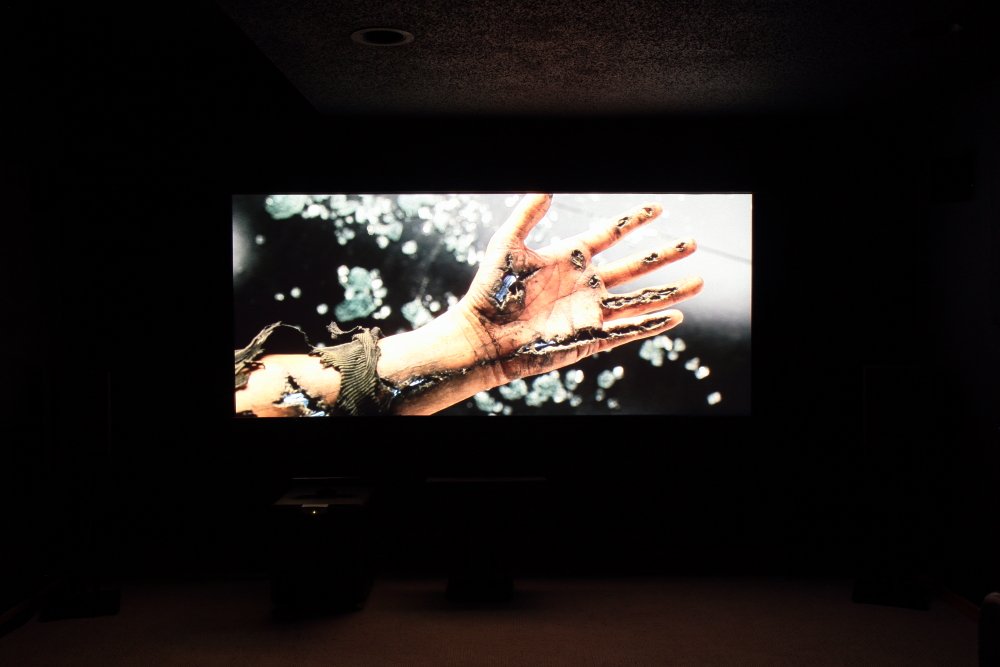
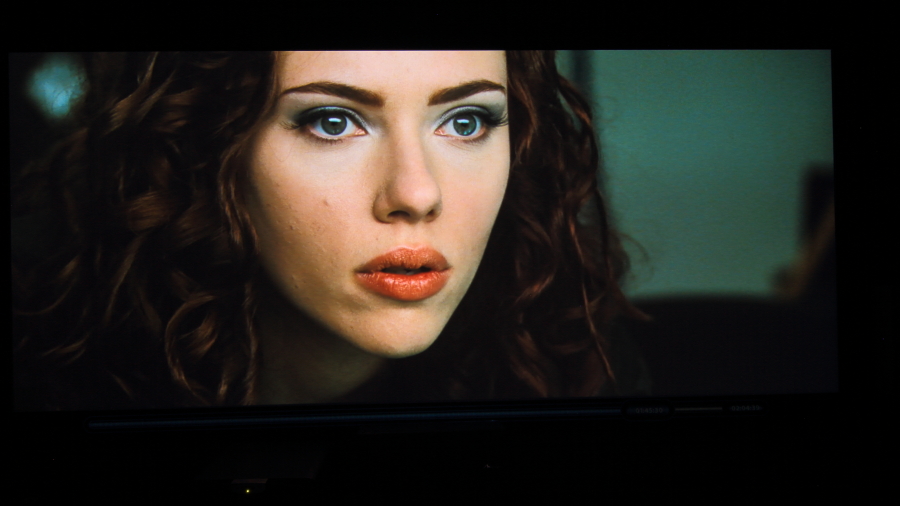
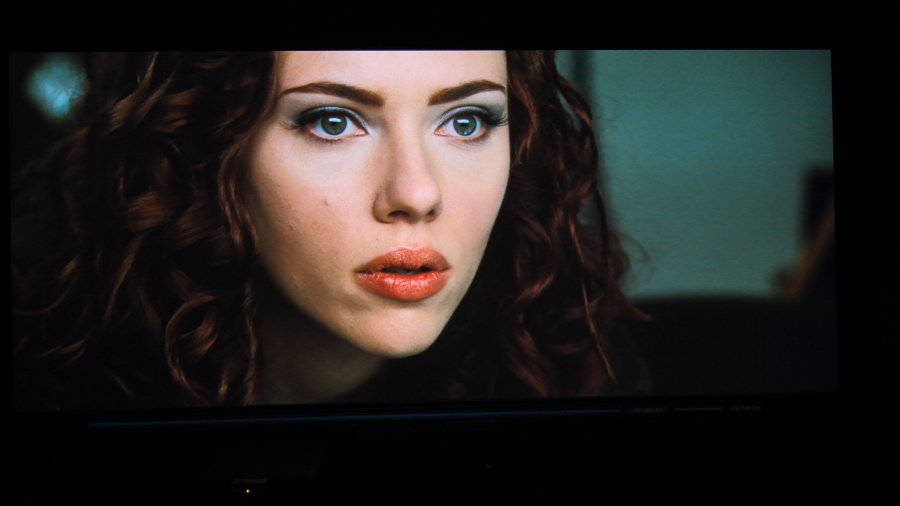
Here is the same scene at three levels of extra lighting…trust me, in reality I can live with the lights on at the back of the room no problem. These images over state the differences seen to the eye. Recall my ceiling and walls are black.
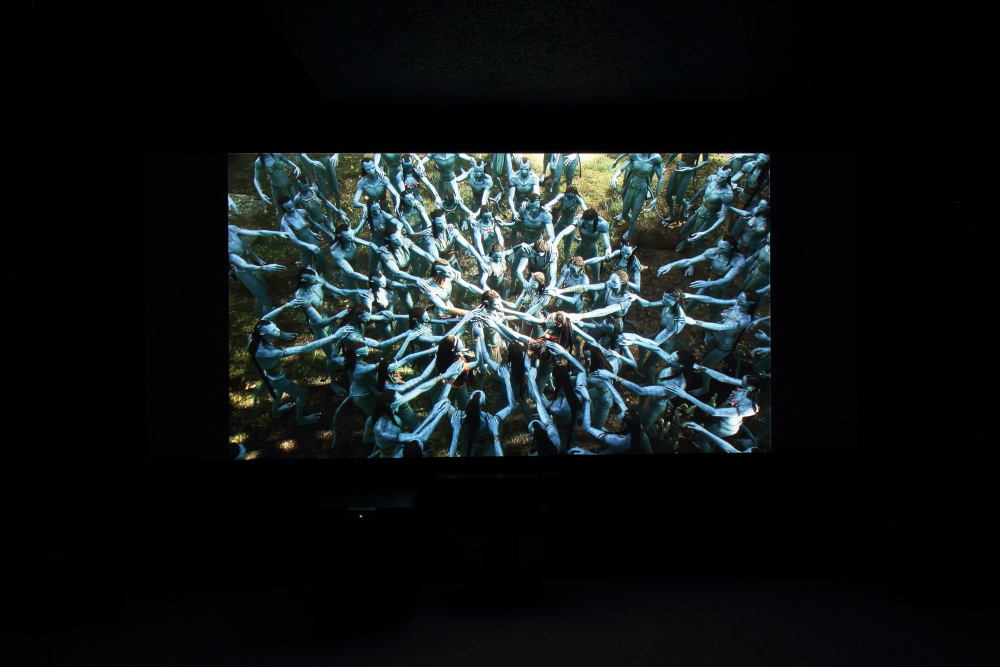
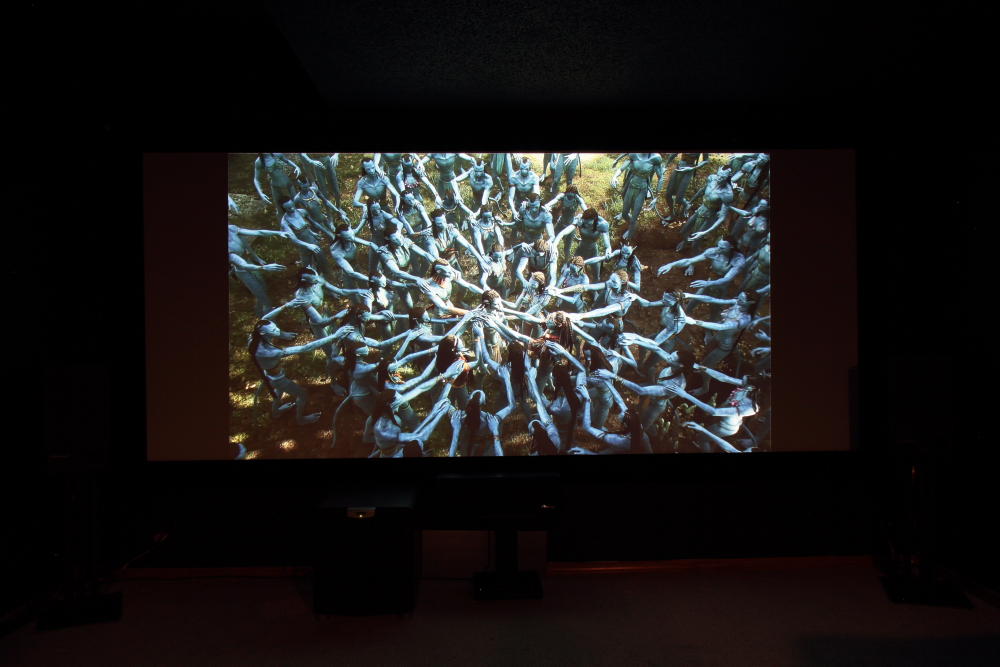
Some screen shots are attached.
I find the new wide screen image well worth the investment.
This screen is plenty bright and I love the colours.

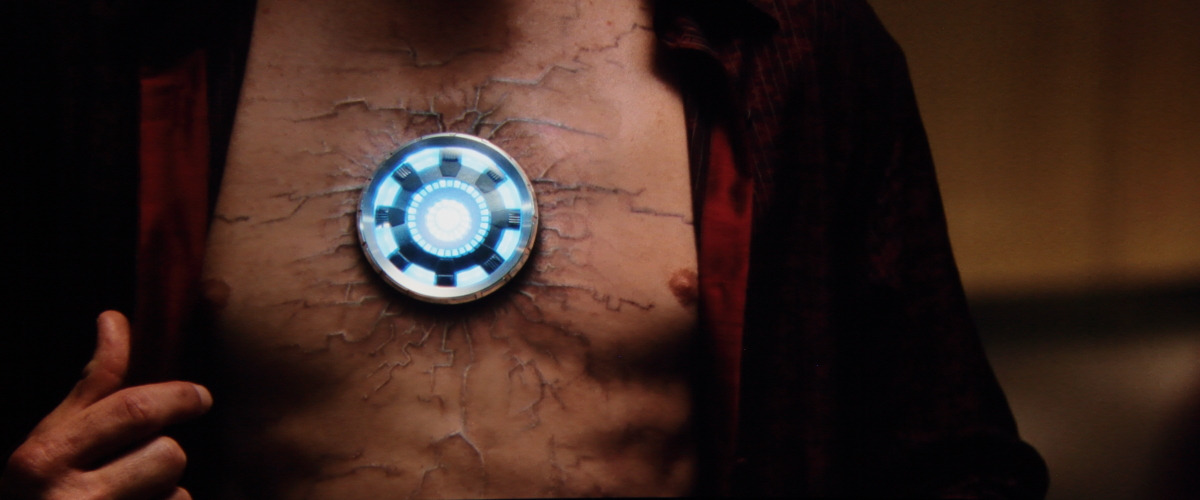

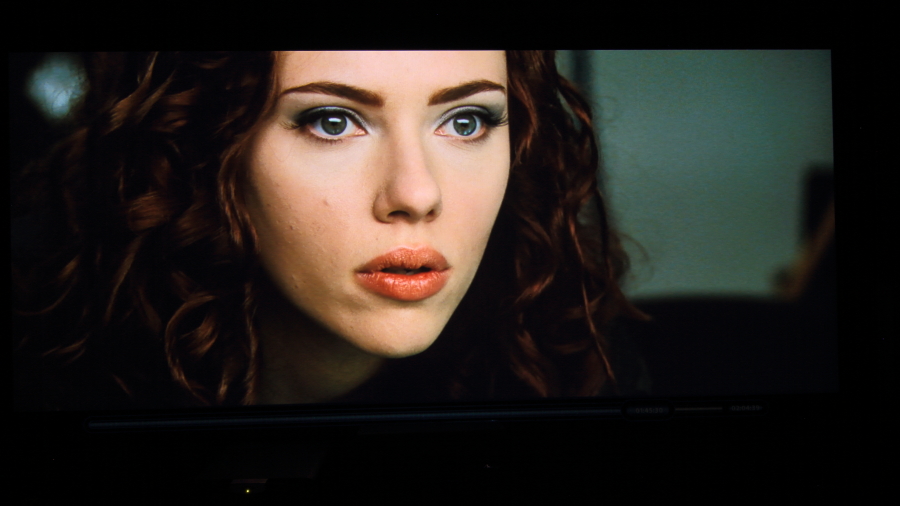
last set..tried to show off high contrast and some skin colours


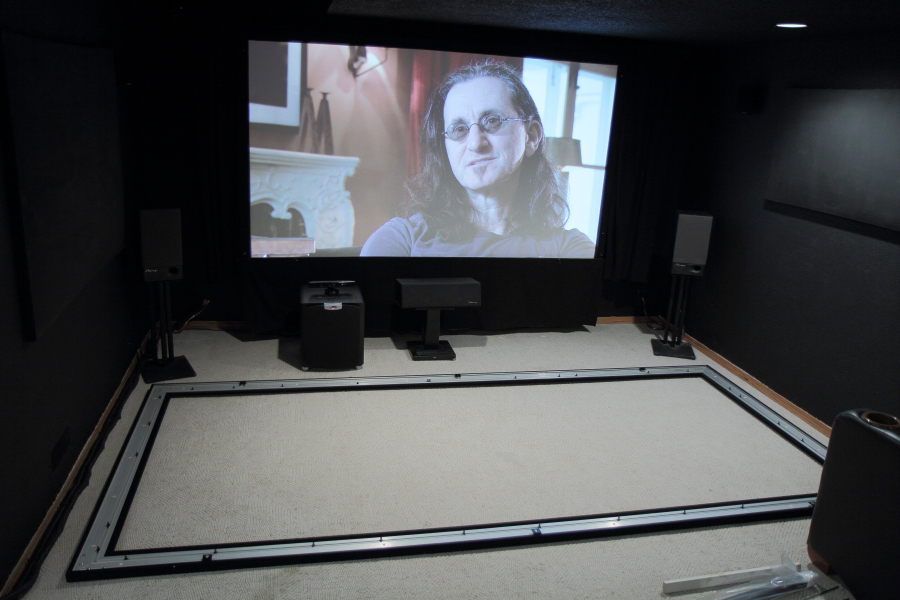
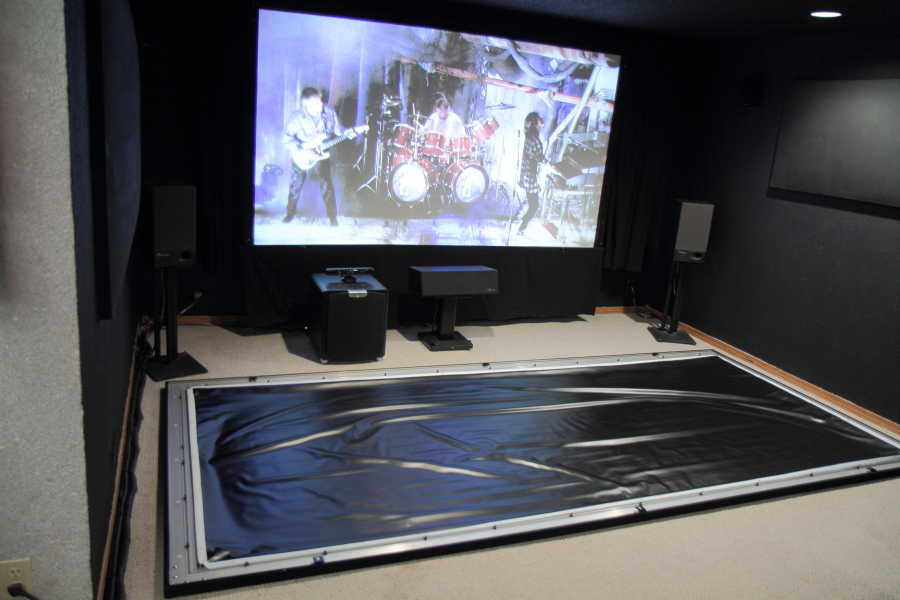
here is the set of pictures showing my new screen installed. as you can see, it is almost wall to wall giving me the biggest image I can manage..room size is approx 12.5′ x 25′
black is beautiful…